
Here’s a new question that we are going to review: “Why can’tI find style.css in my theme editor?” Shopify uses “css” files and in this case the original extension is “scss”. You can find this file in the theme file. Go to the Online Store, choose “Themes” and under “Actions” select “Edit code”. Now you need to go to the “Assets” folder and within it hit “theme.scss.liquid”, when Shopify processes this file it creates the “css” file automatically. Considering that, I want to add a border line outside this image, so what you need to do is to go to the shop site and hover on the image, then right click to open the tool lists, after that, click on “Inspect” and the selector tool will be open, you can also open it by pressing “Control + Shift + I”. When we open the inspect tool, it will appear a footer tools box, then we have to go to the left corner and click on the selector tool. This will highlight the specific ID that corresponds to the selected element. Once we have this code highlighted, we must copy it. By pasting the code of the previous element, I added: “Border: 1px solid #000;”, this code corresponds to a thin black border, then just click on “Save”. Once we’ve done all the previous steps, we just have to refresh the page we are editing and it should be working correctly.
Shopify Tutorial: How to add table borders
Step 1: Go to "Themes"
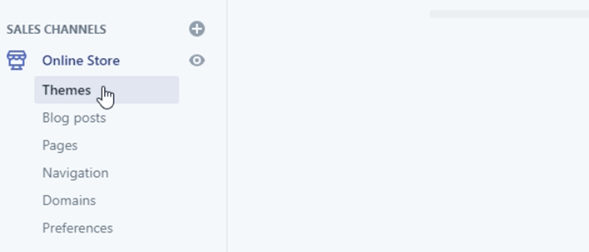
Themes is an option sited in the left panel just below “Online Store”, this will show you the customization themes page.
Step 2: Click on "Actions"
.png)
You need to go to Edit code, this tool is sited in the dropdown displayed within Actions box.
Step 3: Find the Assets menu
.png)
In this list you should be able to see some folders, there you must find Assets menu and click on it, it is usually located below Snippets.
Step 4: Click on (/) theme.scss.liquid
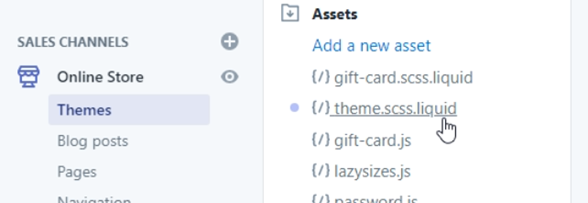
Once you’ve clicked on the Assets folder, it should be displayed a list of tools, there you have (/) theme.scss.liquid, now click on it.
Step 5: Now the SCSS file will be created automatically
.png)
Here you have the editing code.
Step 6: Add a border to an image
.png)
This is an example of how it works, I went to the shop site and hovered on the image, then I right clicked to open the tool list, after that I clicked on "Inspect", you can also use this tool by pressing (Control + Shift + I).
Step 7: Click on the left corner item in the inspect box
.png)
When we open the inspect tool, it will appear a footer tools box, then we have to go to the left corner and click on the selecter tool.
Step 8: Hover on the image and click on it
.png)
This will highlight the specific ID that corresponds to the selected element.
Step 9: Click on the “+” icon, this will give us access to its code
.png)
Once we have this code highlighted, we must copy it.
Step 10: Paste it into the SCSS file
.png)
By pasting the code of the previous element, I added the following
“Border: 1px solid #000;”, this code corresponds to a thin black border, then just click on “Save”.
Step 11: Refresh the Shop site
.png)
Once we’ve done all the previous steps, we just have to refresh the page we are editing and it should be working correctly.

Stay updated with our
latest news & offers
Sign up to get our Newsletter.

.png)