
In this video, we'll be looking at how to add a border between various blocks on your Squarespace Site. This tutorial was made with the Pacific template but it can work in the template of your choice. Go to the page where you want to add the border and then right click on the element, go to "Inspect Element",h over in the menu that has been displayed until you find the correct element id, don´t confuse with "<div class="sqs-block-content"> element; the correct one is "<divid="block", double click it and copy (with CTRL+C) the selected characters. Next we're gonna go to the backend of the site, click where it says "Design" and go to "Custom CSS", in the white box we're gonna write "#" and then paste the element id (with CTRL+V), write open and closing curly braces and write between those "border-right: 1px solid #ccc;" then click on "Save" and we can see the border between the two sections. Due to the design of the page, in this case, the border has to be displayed on the right, however, if it's necessary, you can write "border-left" if you want it on the other side. If you want to widen the border, just right a bigger number before "px" and finally, if you like another color just write your favorite one after "#" at the end of the code.
Squarespace Tutorial: How to add vertical lines between columns
Step 1: Go to the page where you want to add the border between blocks
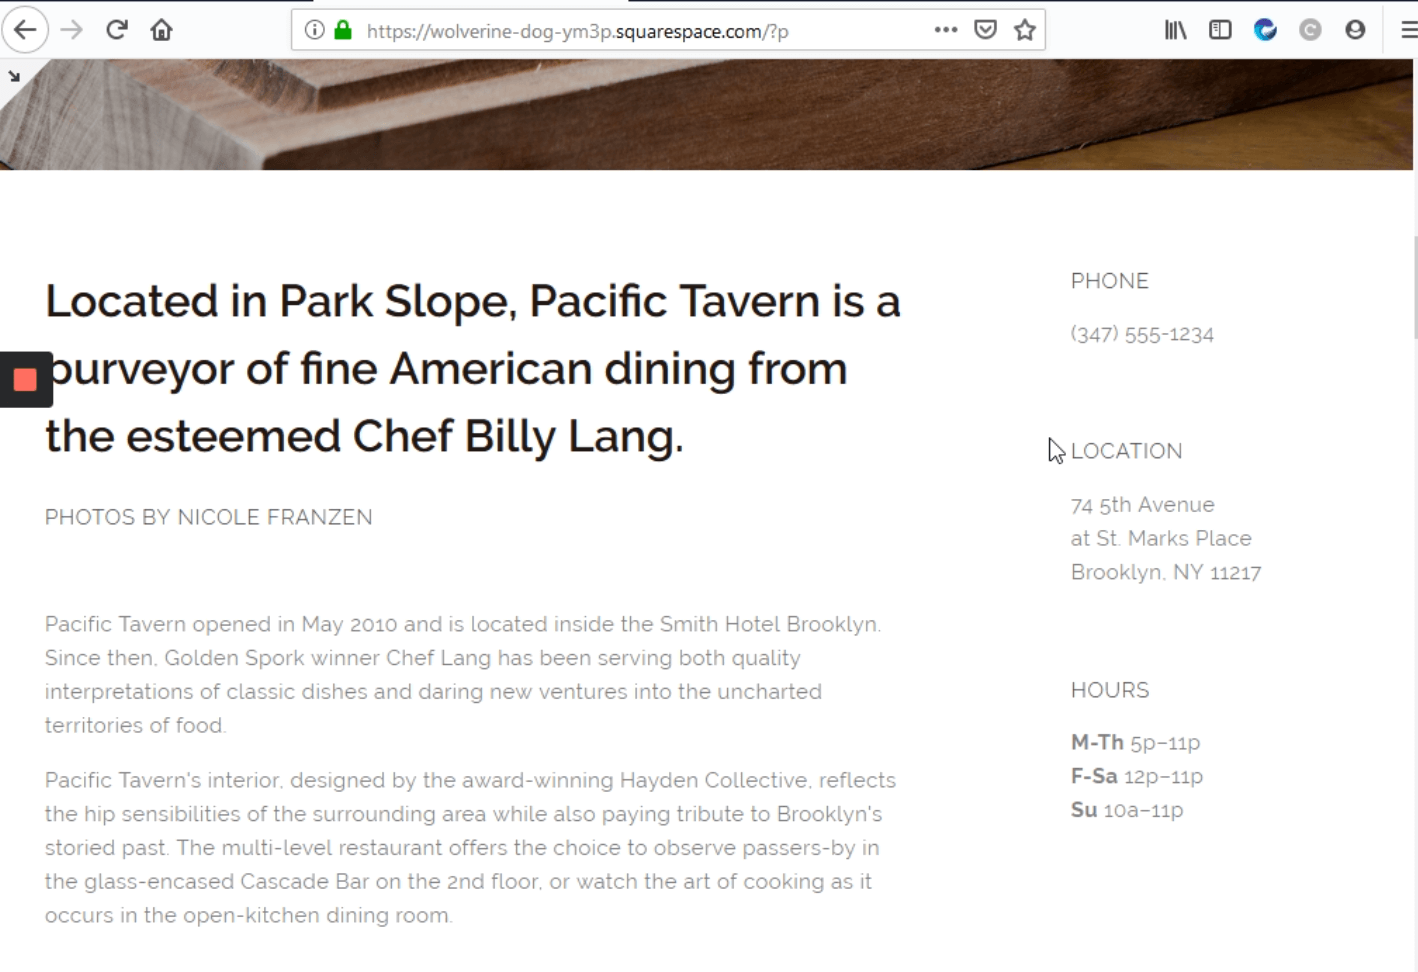
In this case, I’ve chosen this one, it’ll be a perfect example for this tutorial. The objective is to add a border to separate those blocks from the main text.
Step 2: Right click on the main block you want to separate and click on "Inspect Element"

We have to right click on the element that we want to separate, then we must click on “Inspect Element”, this will display the Inspector tool.
Step 3: Find the element id, named as <divid="block"

Once we’ve found it, we have to double click it, this will allow you to edit and copy the id, then you have to copy it (you can do it by pressing Control+C ).
Step 4: Click on “Design”
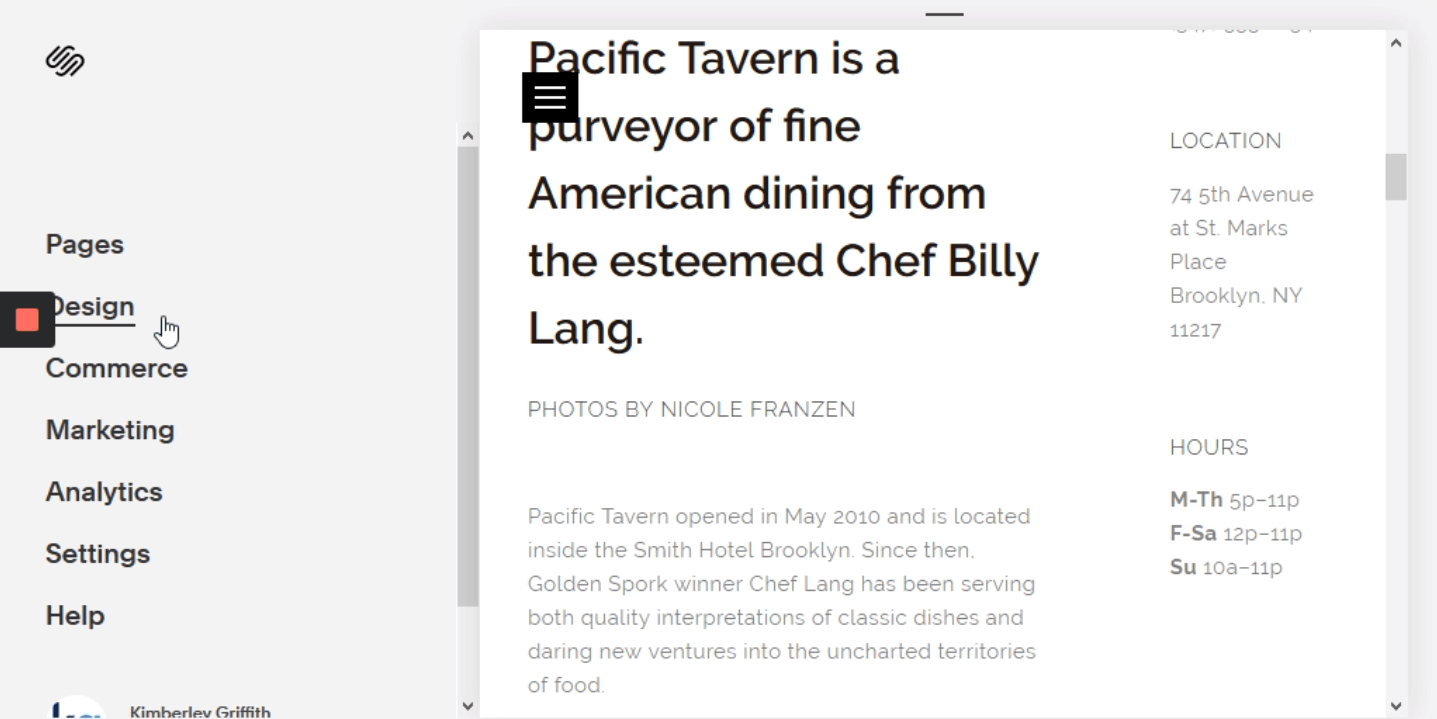
Go to the edit mode and click on "design", this will display a new list of options in the same panel.
Step 5: Click on "Custom CSS"
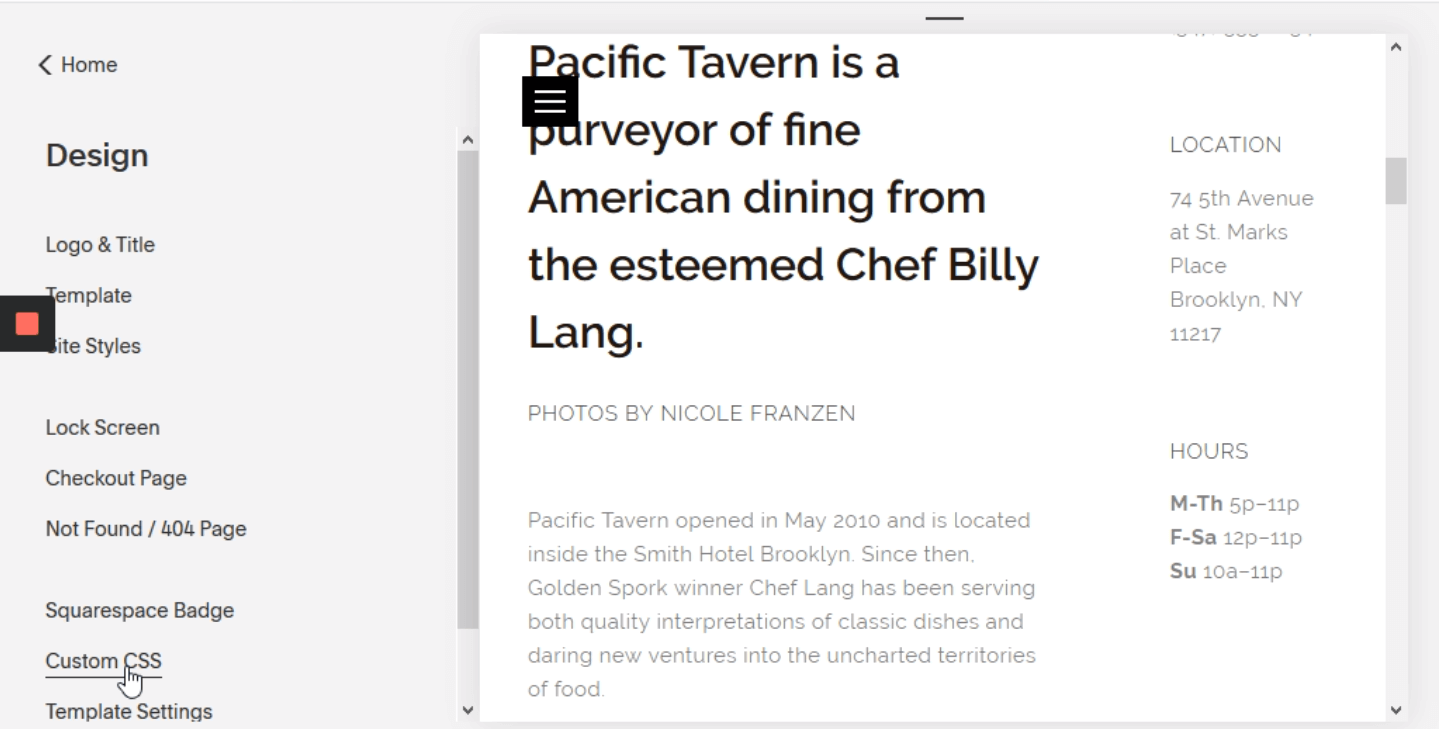
"Custom CSS" is a tool that allows you to add codes to edit the design of your web page.
Step 6: Paste the ID, then add the border code and click on "save"
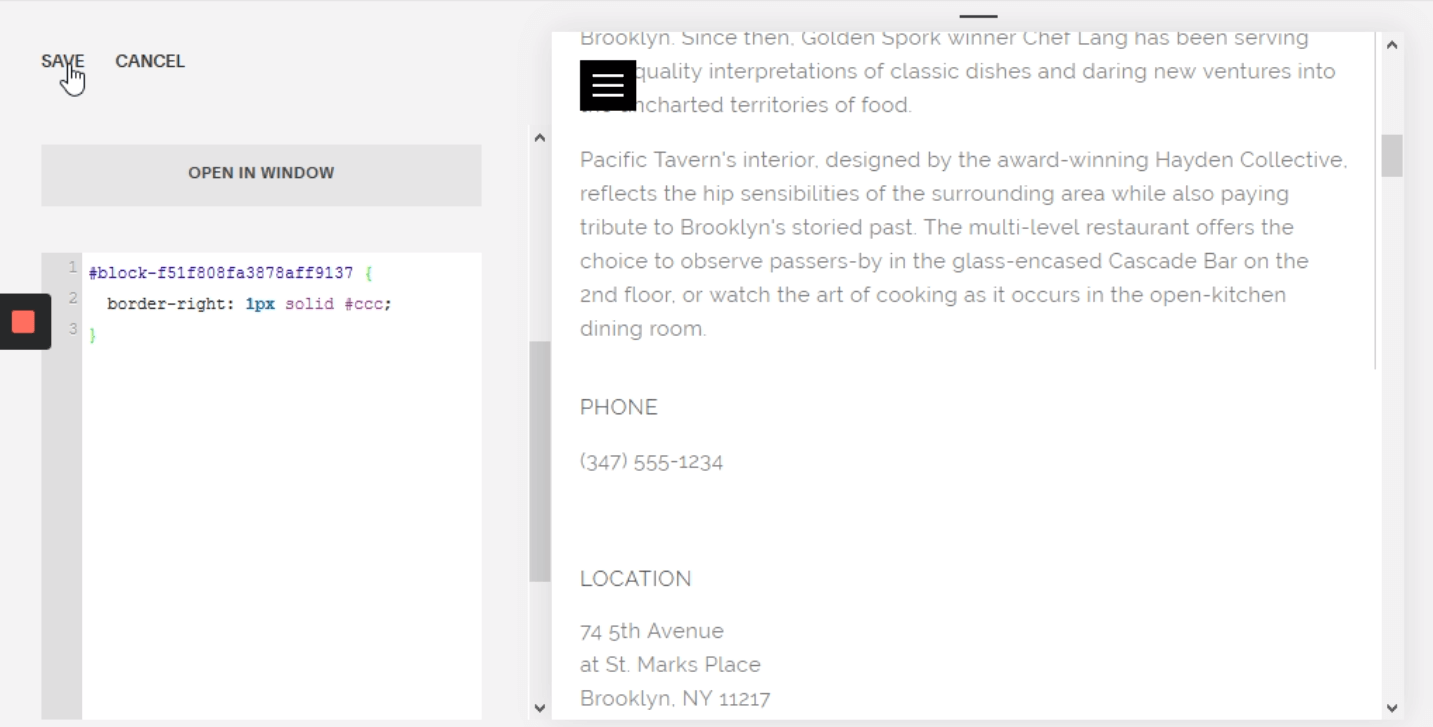
Here we have to type # and then paste the ID, then we have to open brackets and write the custom features like this.
#block-f51f808fa3878aff9137 {
Border-right: 1px solid #ccc;
}
Then just click on “Save”.
Step 7: Refresh the website to see the changes

Border-right: This is because the border we want to add corresponds to a block that is located on the left side of the page, so, adding the border on the right side will separate the block from the blocks that are located on the right side of the page, you can type “left” instead of “right” if your website needs it.
1px solid #ccc; : This corresponds to a thin flatgray border, you can change it if you prefer.

Stay updated with our
latest news & offers
Sign up to get our Newsletter.

.png)